
Vehicle preparation: Before starting the replacement, make sure the vehicle is turned off and in a safe condition.
Tool preparation: Tap wrench, wheel impact socket, impact socket, hydraulic pillar spring compressor, pillar spring compressor, coil spring compressor
Parts preparation: Car coil spring
Here are the detailed replacement operation steps:
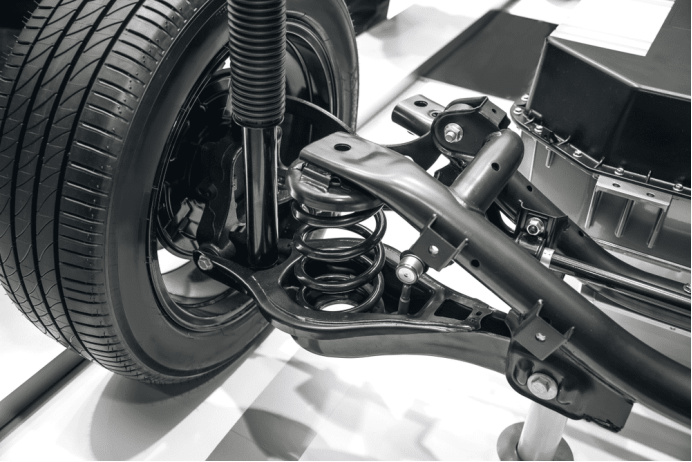
01.Before starting work, familiarize yourself with the suspension design. Springs can be installed as separate components or as part of the suspension strut. Separate springs can be installed on non-independent suspensions (axles) or independent suspensions.
02.Since the shock absorber limits the spring travel, the axle beam should be slightly raised first. At the same time, the suspension also needs to be raised to prevent bushing tearing.
03.Remove the spring from the non-independent suspension and remove the fasteners from the lower shock absorber.
04.Before starting the operation, make sure all sensors and wires have been disconnected from the suspension.
05.Inspect the brackets and replace them with new ones if necessary.
06.Clean the mounting seats and suspension components on the vehicle body.
07.Screw in the fasteners connecting the shock absorber and suspension, but do not tighten them. Tighten the fasteners only after raising the axle to its normal position.
08.In this case, first raise the suspension arm slightly, then loosen the fasteners.
09.If there are camber bolts, be sure to mark them. These marks will be used as references when installing the fasteners.
10.Raise the suspension arm slightly to counteract the effect of the spring.
11.Loosen all suspension arm fasteners, but do not completely unscrew them.
12.Remove the fasteners on one side of the suspension arm, lower the suspension arm, and lower the gearbox jack at the same time.
13.Ensure the spring is completely loose, then remove it.
14.Clean the mounting seat and install a new spring.
15.Reassemble all components in reverse order. Due to the strong spring force, there is a risk of displacement in the jacking section. To avoid this situation, it must be securely fixed.
16.Install the fasteners according to the markings.
17.Jack up the suspension arm so that the bushing is in the correct position, then tighten the fasteners.
18.On the front suspension, you can access the upper fasteners of the support rod from the engine compartment. On the rear suspension, you can access the upper fasteners of the support rod through the trunk or passenger compartment.
19.Remove the lower pillar fasteners (may be located on the steering knuckle or suspension arm).
20.Compress the spring and lock it in this position, which will unload the upper part of the shock absorber.
21.Dismantle the support. Special tools may be needed.
22.When dismantling components, pay attention to their original positions. Be careful with the installation direction and avoid installing them incorrectly. To prevent injury, make sure the spring does not exert any force on the bracket before unscrewing the upper fastener.
23.After unscrewing the fastener, remove all components one by one.
24.Loosen the spring and remove it from the suspension pillar. Consider the installation direction of the components and also pay attention to the position of the spring in the mounting seat.
25.Install all components in reverse order.
26.Use a torque wrench to tighten the fasteners to the torque recommended by the manufacturer.
27.Clean the mounting seats on the body and suspension components.
28.Install the suspension pillar with the new spring.
29.Use a torque wrench to tighten the fasteners to the torque recommended by the manufacturer.